
Click here to sign up for notifications on Facebook and Pinterest.
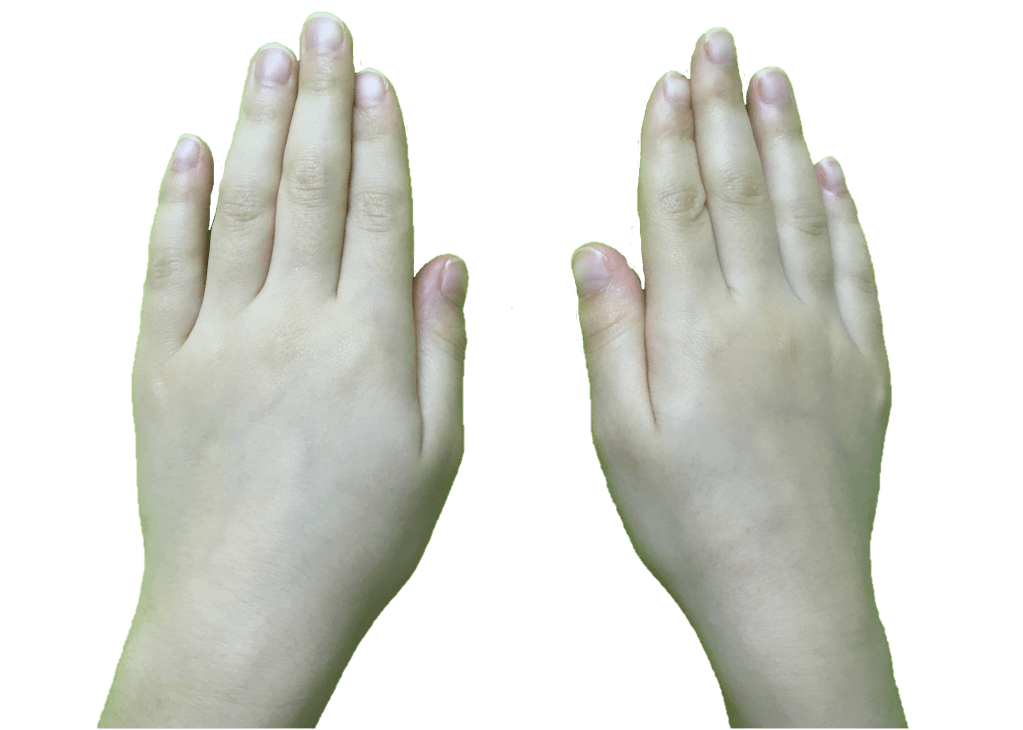
Cutting with scissors involves two distinct motions: bringing the thumb toward the other four fingers, and pulling the thumb and other four away from each other. The latter is the one children struggle with more often. Pause for a moment and do these motions several times in the air in front of your face.

Playing with modeling dough, tweezers, tongs of various sizes, clothespins, and games that involve picking up small objects help children develop the muscles for pushing scissors in. Water activities like using squirt bottles, squeezing water bottles (or ketchup bottles filled with water, and wringing out rags are also great.
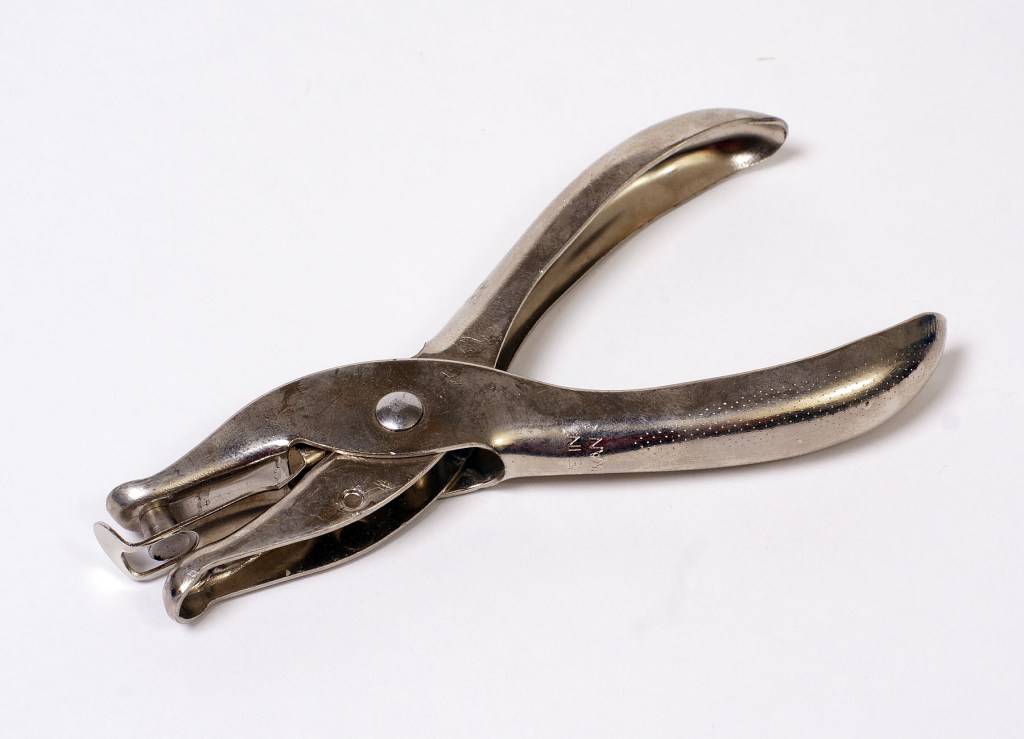
Using a single hole punch is a great way to build the muscles that will close scissors. Children can hole punch junk mail magazines, leftover wrapping paper scraps, dry leaves in fall, paper shopping bags, or make their own confetti from construction paper. Buying a hole punch that is shaped like a star or heart can make these activities even more appealing.

Playing with puppets is the best way to develop the pushing apart muscles in a fun way. Make sure the child is holding their thumb in the bottom of the puppet’s mouth, with their other four fingers in the top. Each time they open the puppet’s mouth, they are stretching their fingers apart, just like when they open scissors.
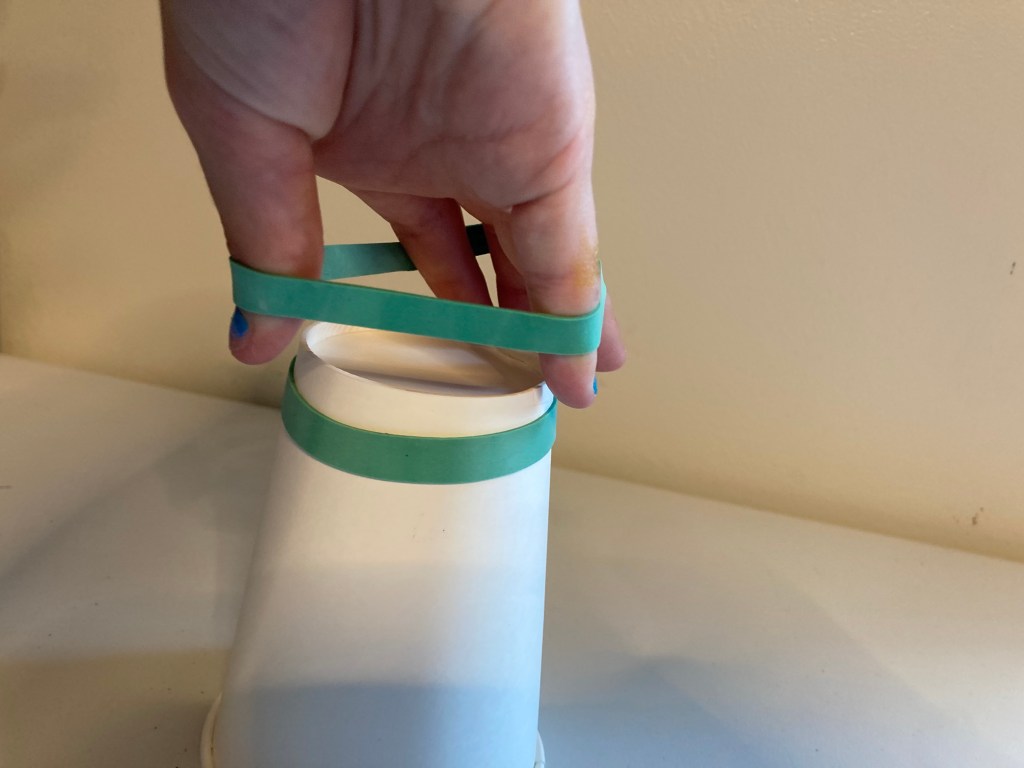
For struggling older children who need to catch up their fine motor skills more quickly, find rubber bands just the right size to require some effort when placed around fingers and opened up. Make a game where they have to go on object, such as doll’s head or small ball. A paper towel roll or cup can be a good size. Play together, taking turns.
For young children whose handedness is not yet determined, offer scissors that are not built for either righties or lefties. Children will often alternate between one hand and the other when they are learning to cut and write simply because their hand muscles get tired and need a break.

To help children remember where to put their fingers in scissors, try this trick. Trace the child’s thumb and four fingers on bright paper, cut out and tape to the scissors so they see where fingers go. Measure to see how many of their fingers will go in the larger slot. This can vary from child to child, with some using two, three, or four.
For children who are really struggling to open scissors, you can purchase a pair of self-opening scissors. These scissors have a spring in them that makes them automatically open. This allows children whose hand muscles and coordination are not developed enough for cutting to still practice having scissors in their hands.

Teach children to move the paper with their non-cutting arm and to keep their cutting arm still. If a child puts their arm out to the side while cutting, place a folder or thick paper under their armpit while they cut. This will guide them to keep that arm against their side.

Using the hand-over-hand method to teach children to cut or write seems overbearing to many, but done properly it’s a gentle teaching method. Start by asking the child to help you with cutting something fun. Sit side-by-side and place your arm in front of their arm so that they are resting their hand on top of yours. Use adult scissors and have the child copy your hand motions as your hand moves inside theirs. There are also scissors designed to hold both an adult and child’s hand together.

Click here to sign up for notifications on Facebook and Pinterest.
Have questions or feedback? Email:
teachgrowsow@gmail.com
