Click here to sign up for notifications on Facebook, Instagram, Pinterest, and YouTube.
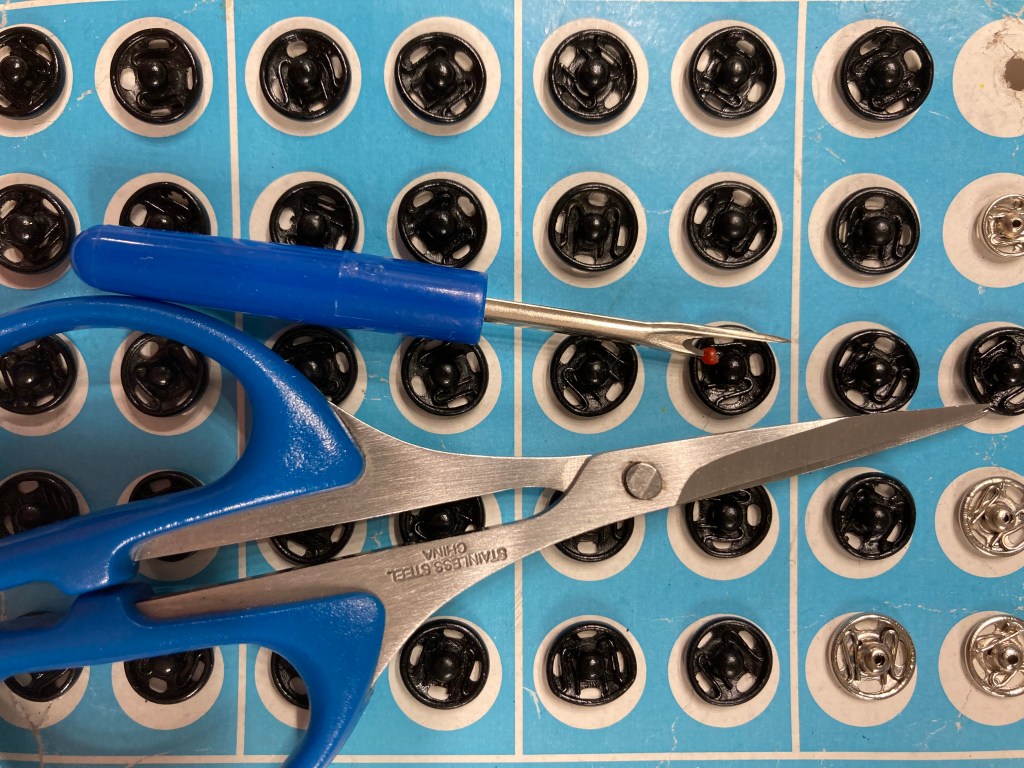
You don’t need to be an avid sewer to make improvements to clothes, and even a novice can go far beyond simply darning holes in socks. To start, you will need needles, pins, thread (color varies by project) and a nice organizer for all your sewing items. Some other must-have items for me are small sewing scissors or a thread cutter, a packet of snaps, and ribbons (I save any ribbon I like that comes on a gift or other package, because you just never know when you will have a use for it). Also hang on to spare fabric that can be reused from items that are ready to be tossed.
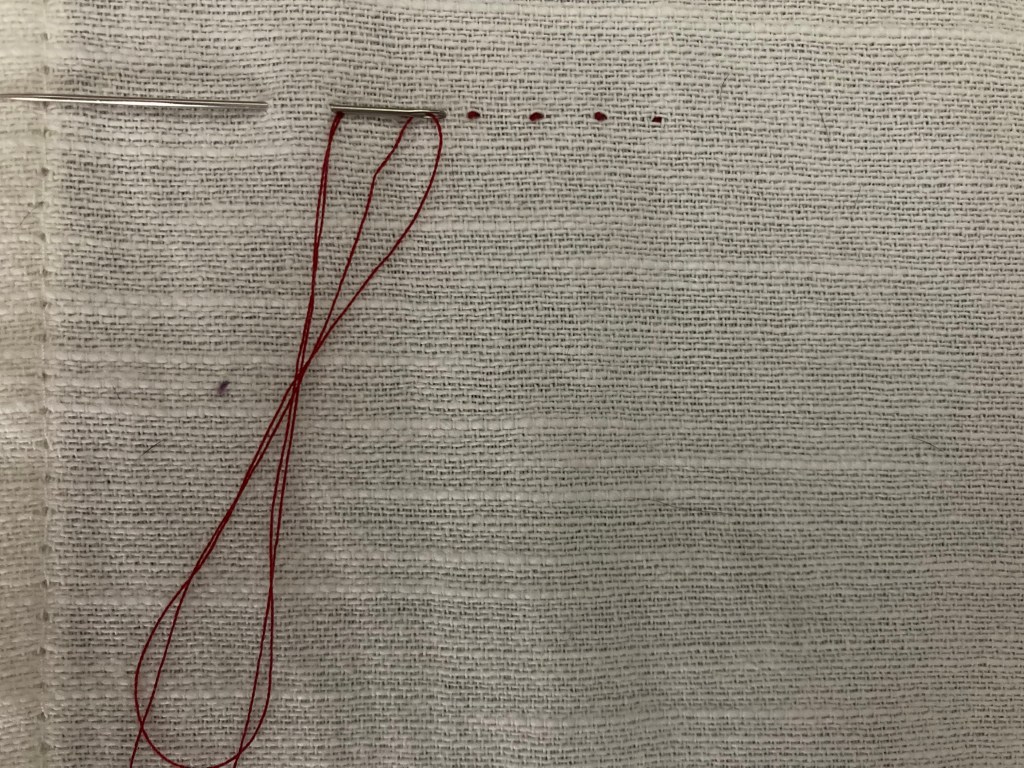
You will also want to practice some basic stitches if you do not already know them. For a simple stitch in an area that will not be visible, simply pass the thread in and out a few times before pulling it all the way through.
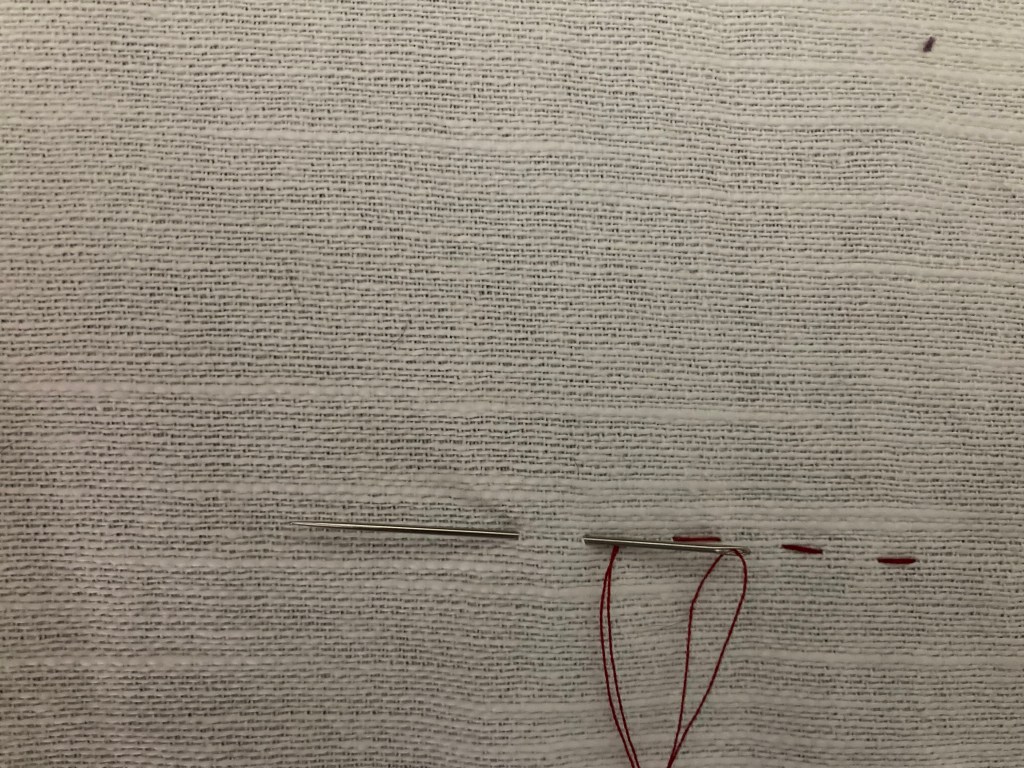
For an area where you want the stitch to go unnoticed, use an “invisible” stitch. Choose a thread as close to the fabric as possible (I am demonstrating here with contrasting colors for greater visibility). Push the needle on the underside about a centimeter, then on the topside only a couple thread lengths.
Here are some sewing hacks I have found incredibly useful over the years:
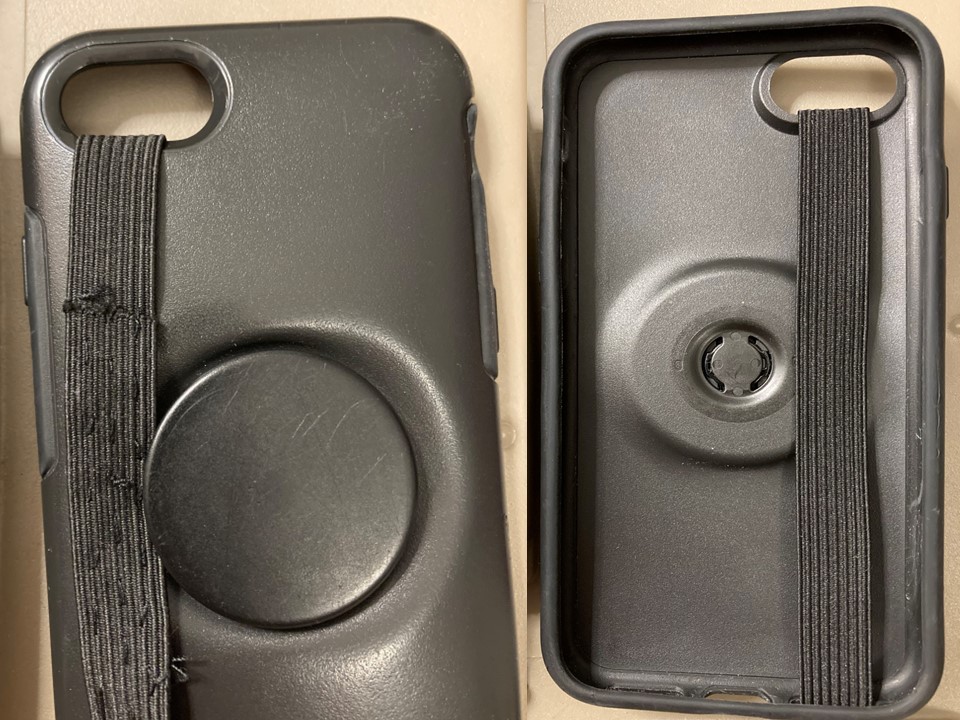
Add an Elastic Strap to Your Phone Case
Grab a piece of elastic a bit thinner than the camera hole on your case. Pass it through the speaker opening at the bottom. Measure it so that the elastic will fit snugly and pin. Sew the ends of the elastic together and pop your phone back in the case. Now you have an added level of security when holding onto your phone.
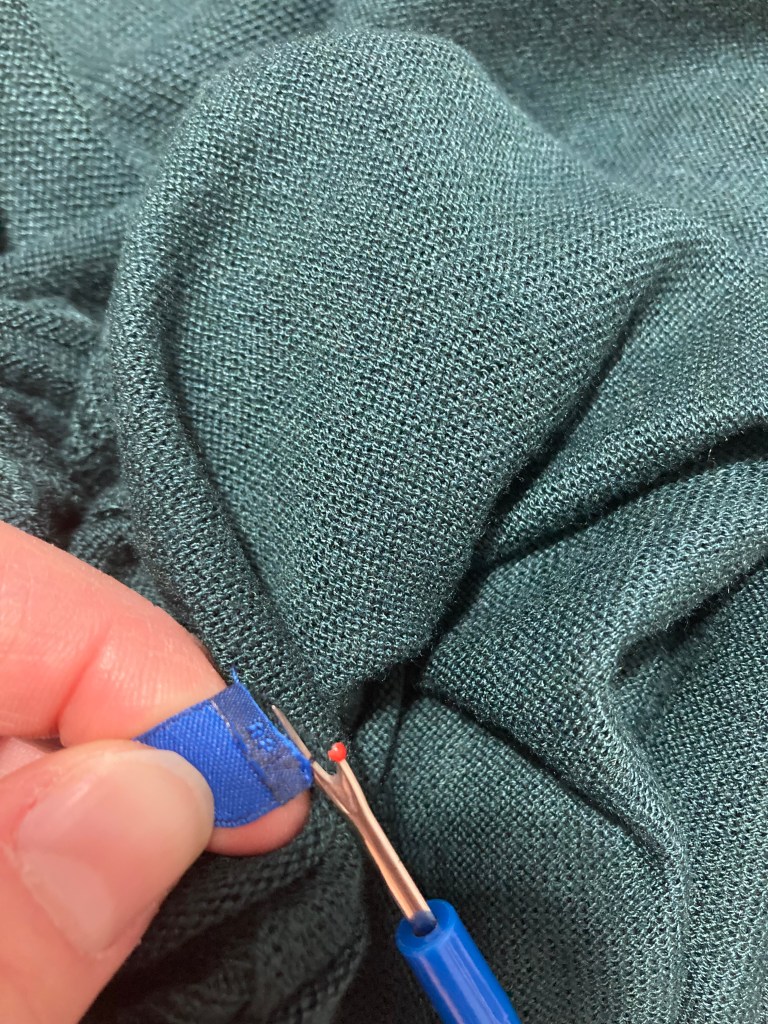
Use a Thread-Cutter to Completely Remove Tags
Buying a thread-cutter for your sewing kit is already a must. If itchy tags drive you crazy, it can double as a tool for getting those tags completely out. Pull the tag gently away from the fabric so that you can see which thread is holding them together. Just slice through with the thread-cutter and say goodbye to a scratchy neck. Just remember to make a note of washing instructions first!
And, if you prefer to remove the tags from stockings but then can’t tell the front from the back without trying them on first, simply sew a few loops through the back seam in a contrasting color. It won’t show once they’re on.

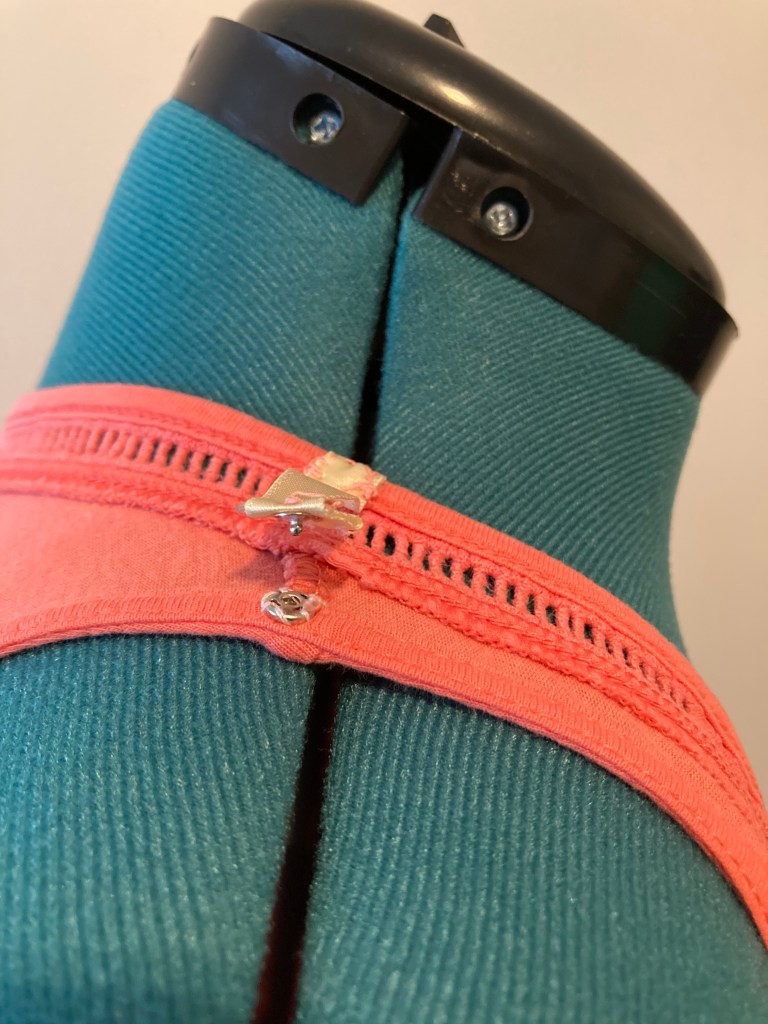
Bra Straps Holders
Few things are quite as annoying as having a bra strap that just won’t stay in place on a top with thin straps. Use a small strip of ribbon and a snap to keep those straps exactly where you want them.
Step 1: Measure your ribbon to make sure it is the same length as your top’s shoulder, allowing the ribbon to fold inward twice on each end to keep it from fraying.
Step 2: Turn the top inside out and sew one end of the ribbon to one end of the shoulder.
Step 3: Sew one side of the snap to the inside of the other end of the ribbon.
Step 4: Sew the other side of the snap to the other end of the shoulder.
Bra strap holders also come in very handy for tops with wide necks.

If a top is going to be used with convertible bra straps, there is no need for the snaps. You can also place the ribbons just above or below the top of the shoulder (or in as many locations as are needed). For tops with very thin straps, you can even just use thread. To make it stronger, consider using darning thread or braiding regular thread.
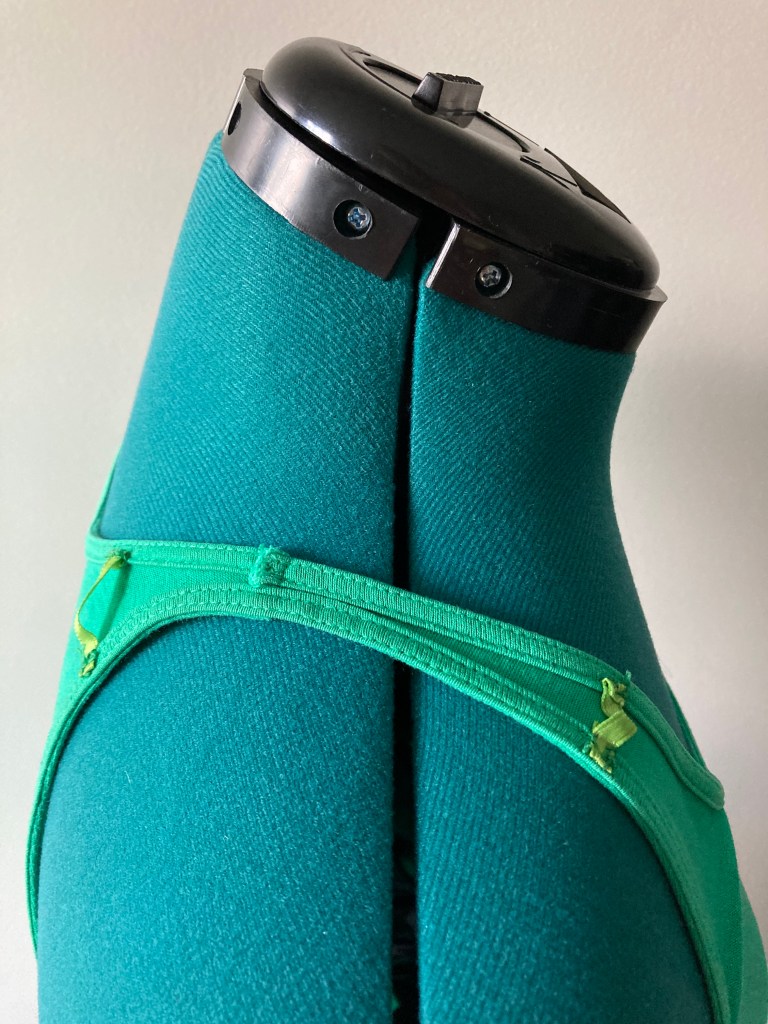
A ribbon with a snap can also be used at the bottom of low-back tops to make sure they don’t dip below the back of the bra.
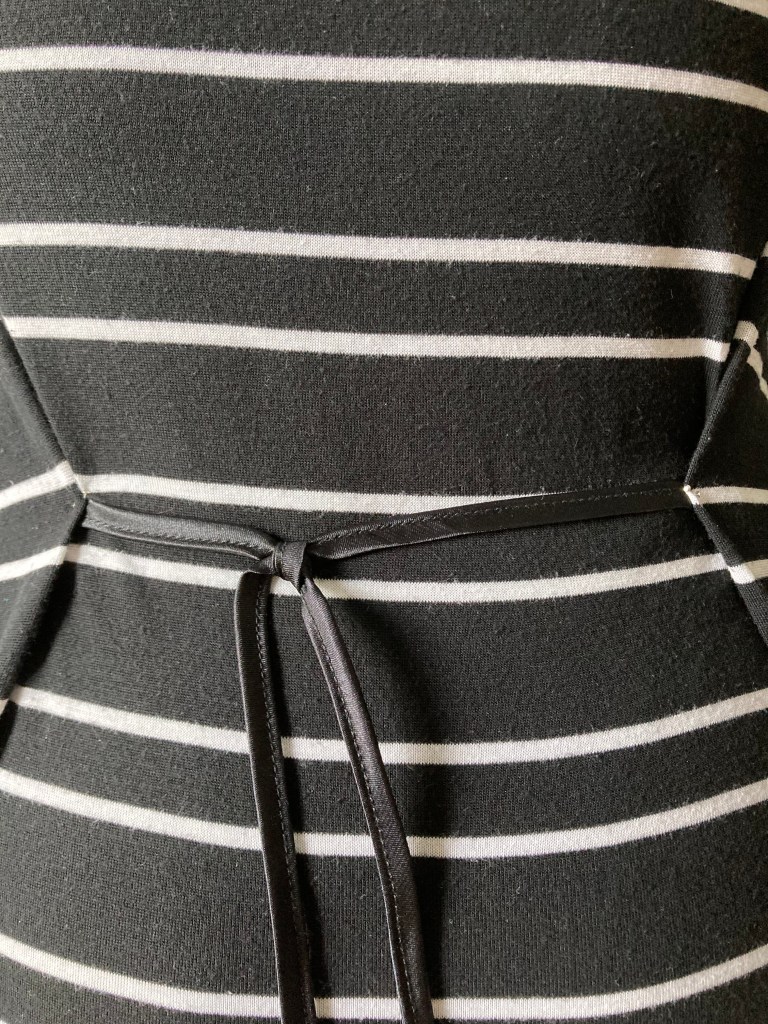
Waist Ties
Have you ever seen a shirt or dress on a mannequin in the store and thought it looked very flattering, but then noticed it was much less form-fitting when you tried it on? That’s because stores pin back tops to better fit the mannequin’s torso. If that was the look you wanted, it can easily be achieved by adding waist ties to any loose-fitting shirt or dress.
Step 1: Find a ribbon that goes well with the fabric.
Step 2: Locate where you want the waistline to be and mark the exact sides with a pin.
Step 3: Cut along the seam just barely longer than the length of the ribbon.
Step 4: Slip the ribbon through the hole, then sew the seam back together with the ribbon tucked in.
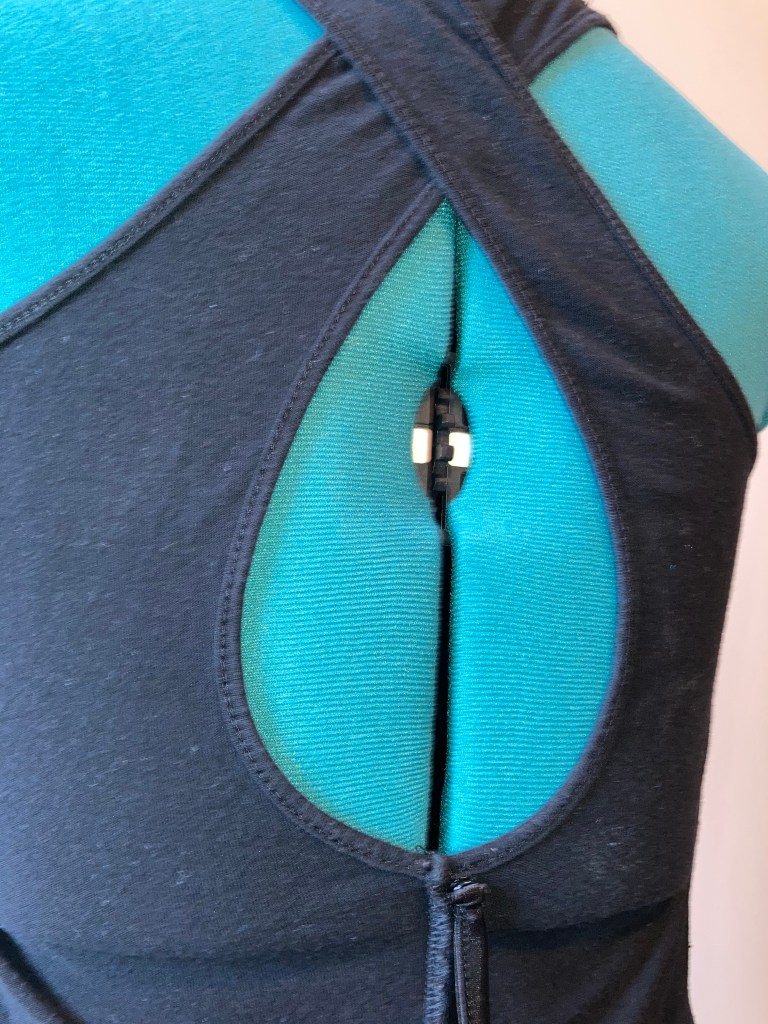
Snaps Between Buttons on a Fitted Dress Shirt
This is for the exact opposite problem. Perhaps you have a dress shirt that fits a bit too tightly and the spaces in between buttons gape open in an embarrassing way. This can easily be solved by sewing snaps halfway in between buttons to keep the front of your top seamlessly closed.
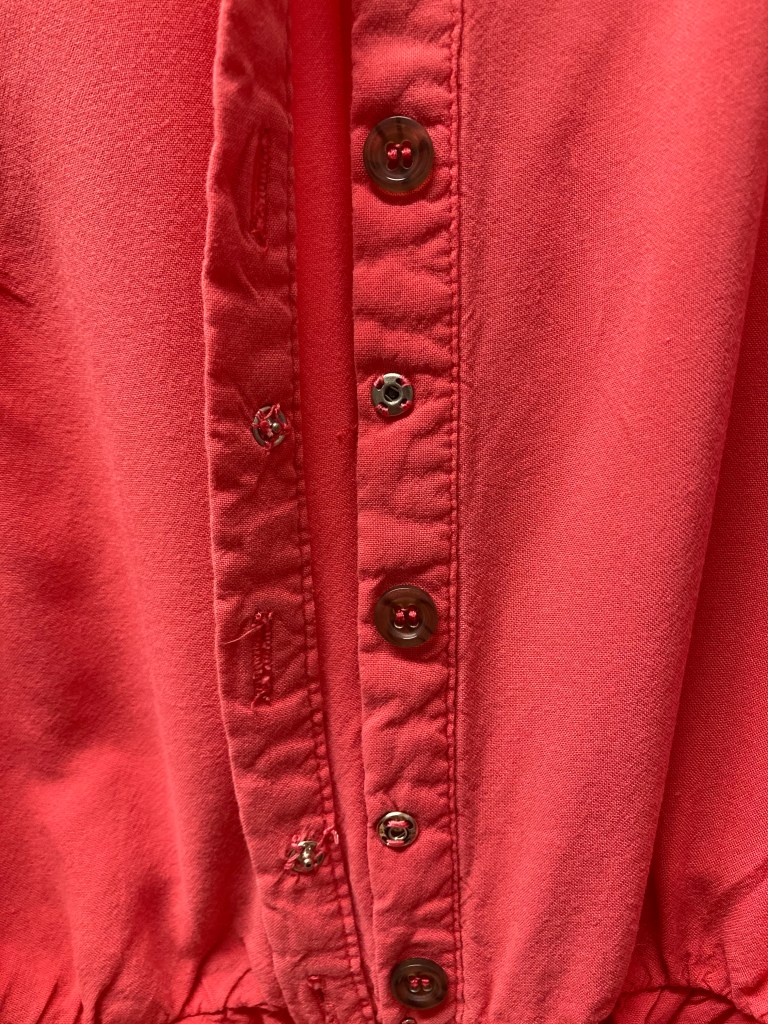
You can either use very small snaps and thread that matches your fabric perfectly, for a look that is unnoticeable from any decent distance, or only sew the snaps onto the inside layer of the fold (button holes are always sewn into two layers of folded fabric) so that it is 100% invisible.

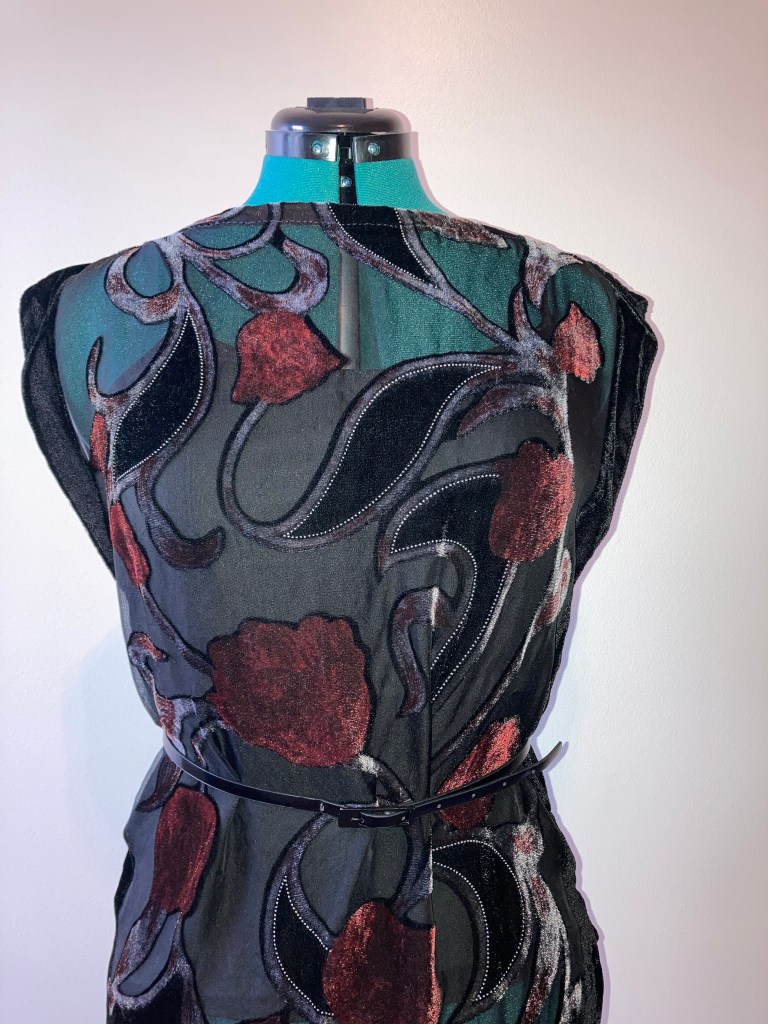
Scarf Shirts & Dresses
Scarves can be a pretty common gift, but if you are just not a scarf person, you may find yourself with quite a few lying unused in your closet. Or, perhaps you do like to wear scarves, but the opportunity just doesn’t present itself as often as you would like to show off the beautiful patterns on them. But rather than waste such gorgeous fabric, consider turning your unused scarves into shirts or dresses.
Step 1: Lay the scarf out flat, folded in half, inside out (if there even is an inside/outside).
Step 2: Cut along the fold.
Step 3: Lay a long ribbon across the cut top and fold inward, twice. Sew the ribbon into the folded seam in this way, so that it can slide through it. Repeat on the other cut end.
Step 4: Sew all but the last few inches of the sides together (measuring how much you will need for your arms). Wear with a favorite belt or ribbon tie.

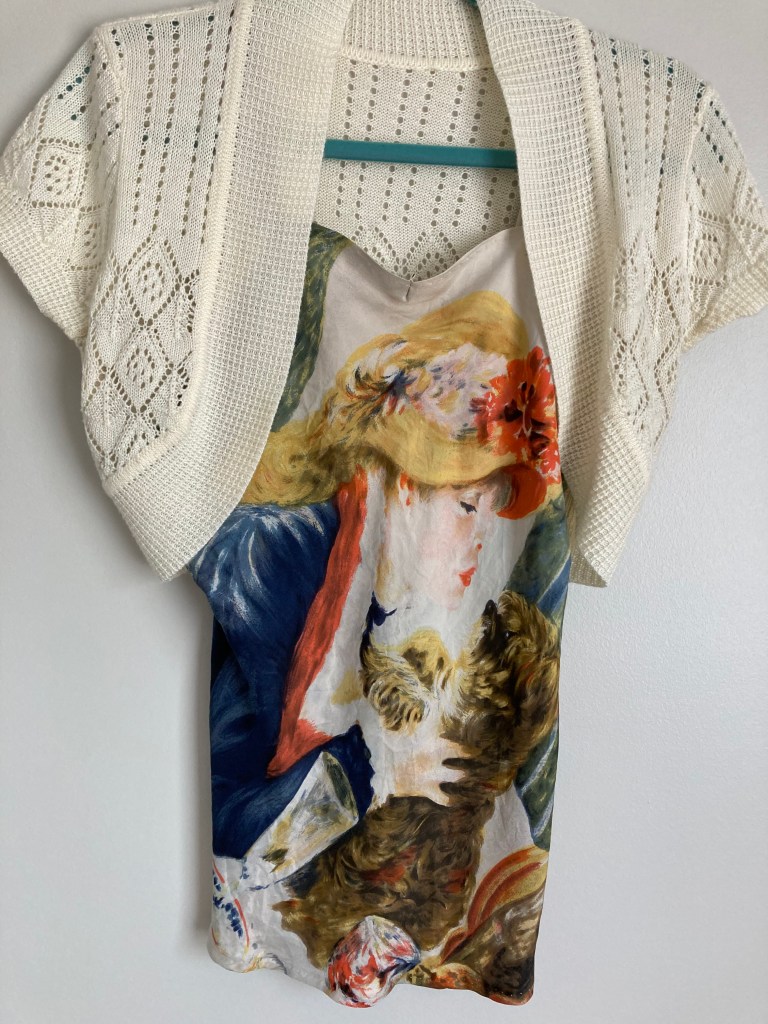
Another option is to forego the top ribbon and sew the two ends of the top back together at the shoulders after folding them inward, twice. This will give you a nice boat neckline.
And you can always make spaghetti straps with a ribbon and pair it with a shrug or open sweater.
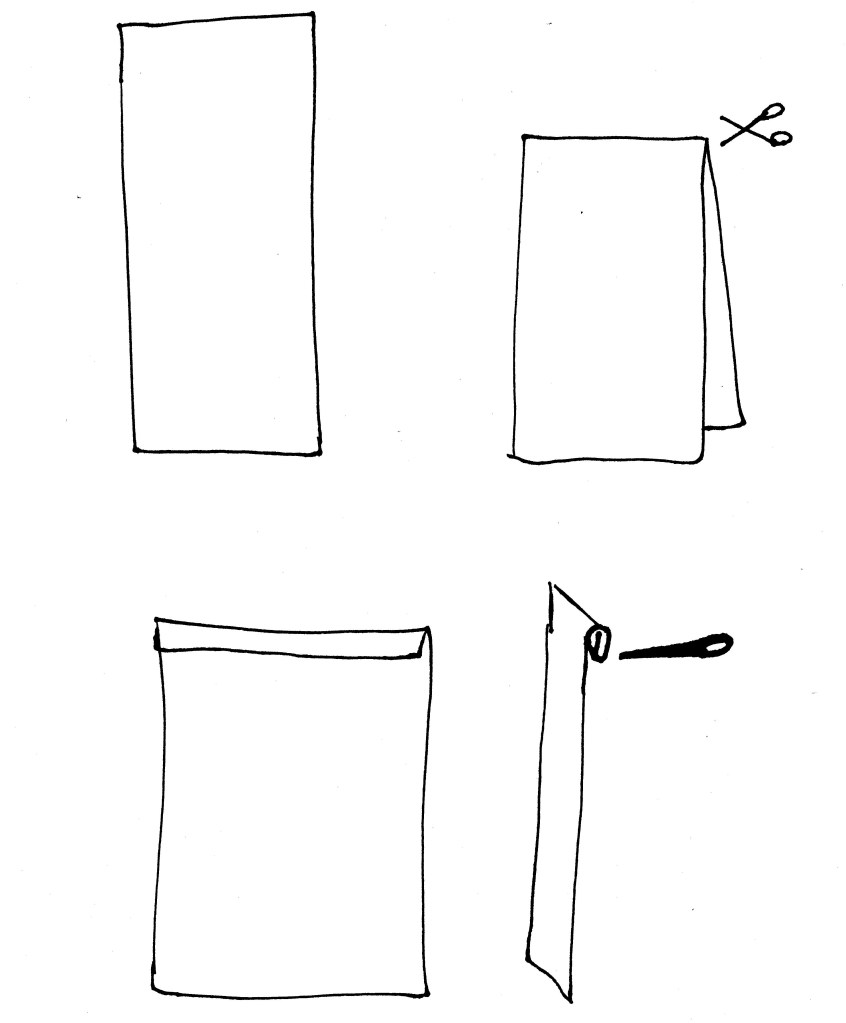
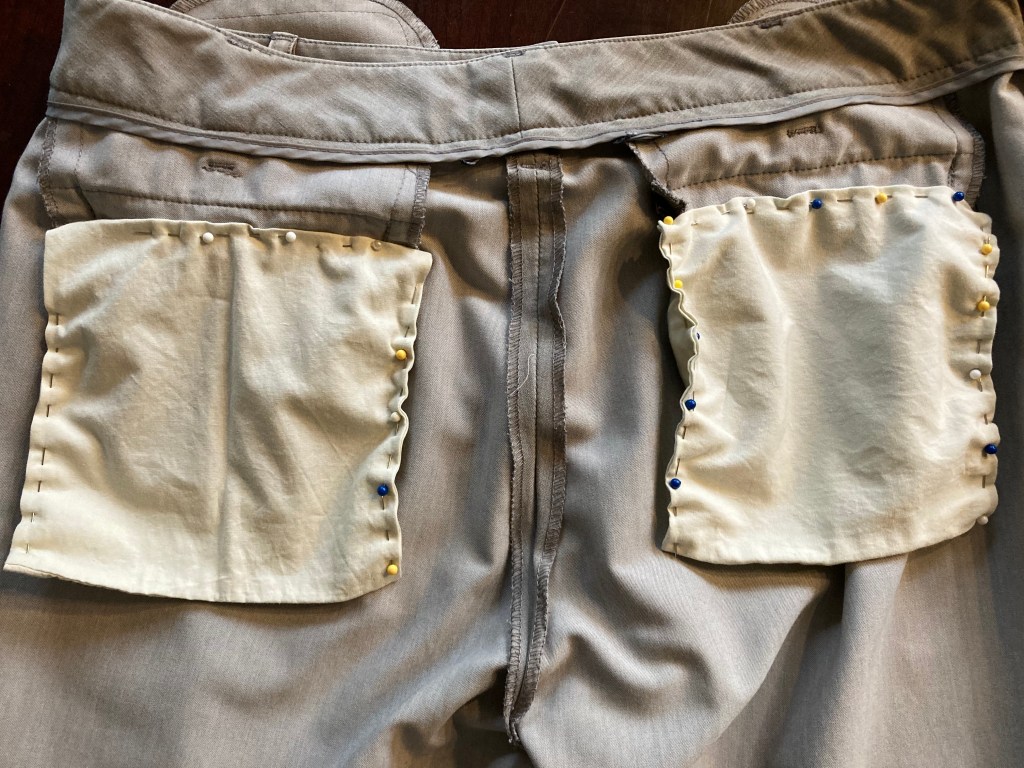
Add/Extend Pockets
Have you ever found a pair of pants you love, but to your dismay, the pockets are fake? Why designers think women don’t need real pockets is a mystery to me, but fortunately, it is easy to solve.
Step 1: Hold the fake pockets open as wide as you can make them go, so the thread is visible.
Step 2: Slice through the thread with a thread cutter or small sewing scissors.
Step 3: Find extra fabric (any will do, but using the corners of old pillowcases makes the job half as long).
Step 4: Measure the fabric folded over, so that it forms a pocket that slips right over the fake pocket.
Step 5: Fold all edges inward twice so they don’t fray; pin and sew inside out.
You can also use this same method to extend pockets that are ridiculously shallow (or simply don’t fit your new phone).
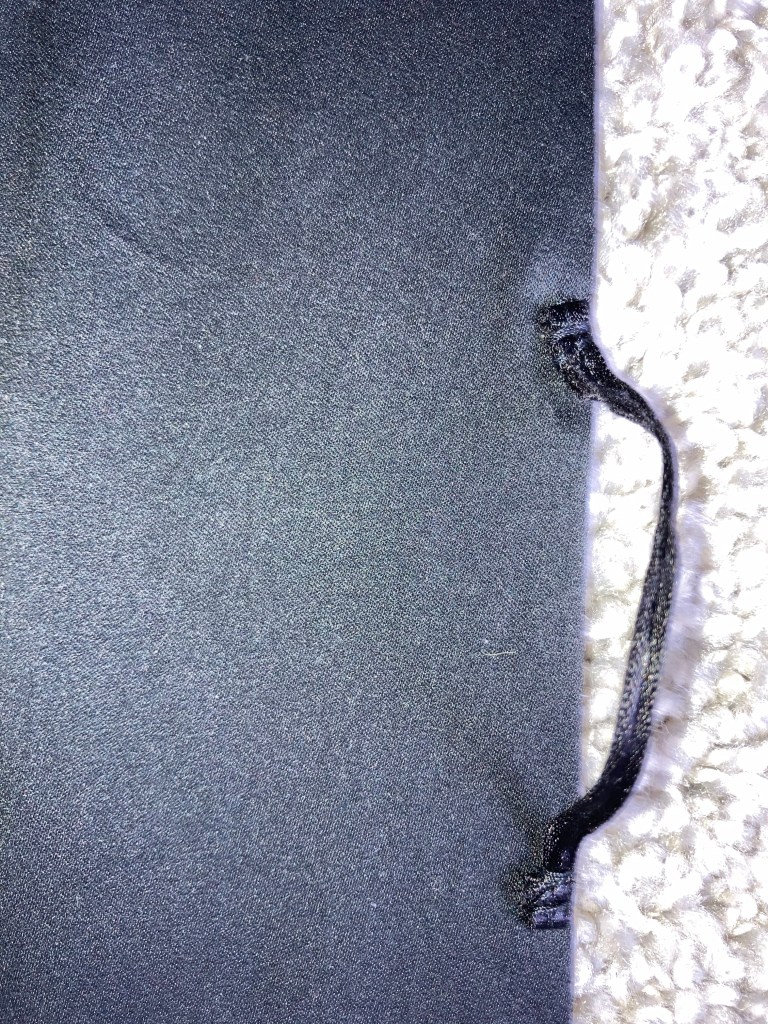
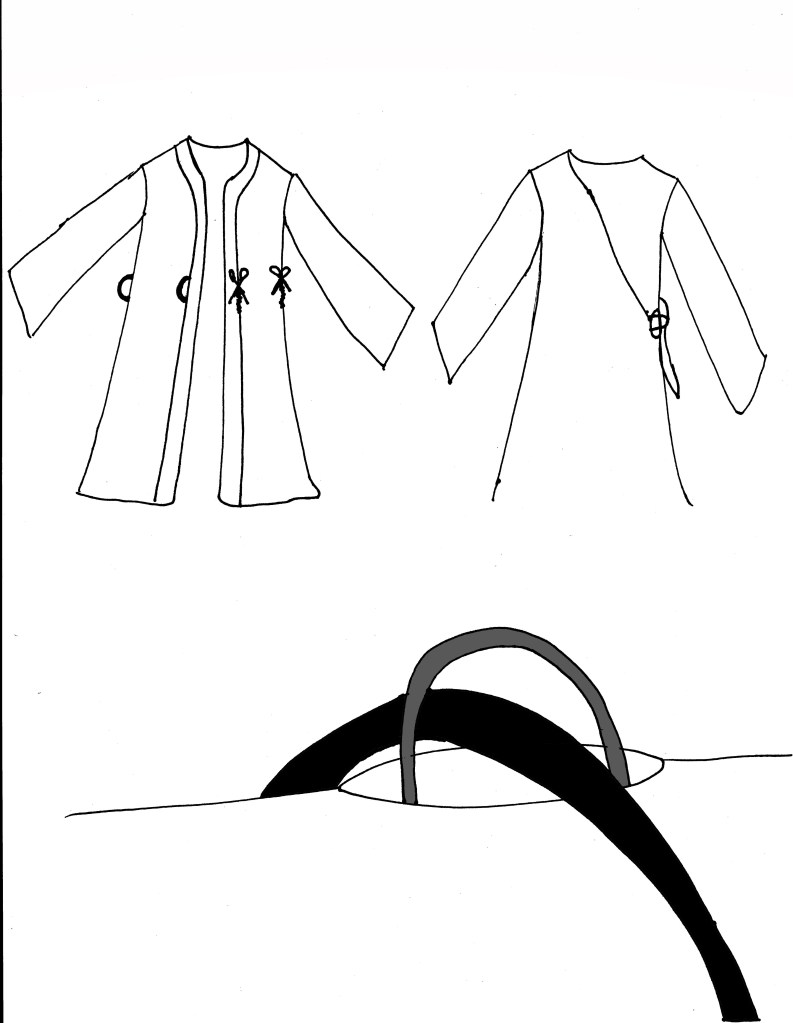
Silk Bathrobe Hooks
A silk bathrobe is a nice cool option in warmer months, but they hardly stay in place, like a traditional robe does. This can be solved with two cuts and two short ribbons.
Step 1: Find the waistline of each side and mark with a pin.
Step 2: Cut a two-inch slit along the RIGHT seam at the waist. Sew each side of the seam back separately.
Step 3: Sew a three-inch ribbon along the waistline on the LEFT side, with each side of the ribbon about an inch and a half apart, allowing it to stick out slightly.

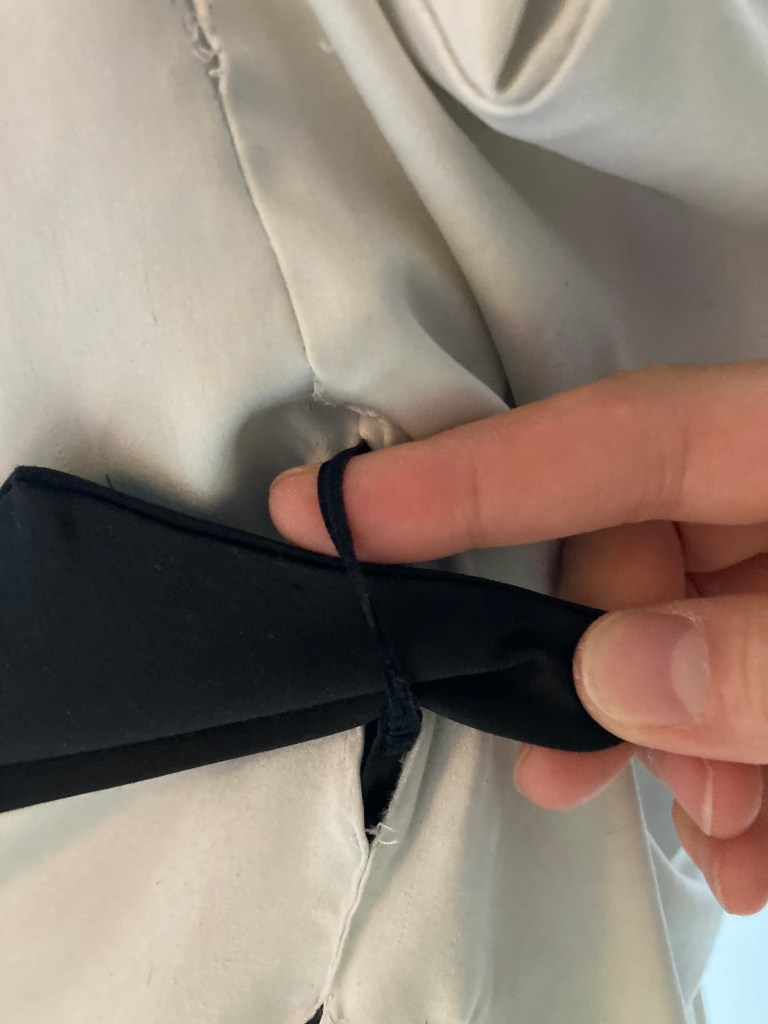
Step 4: Find the parallel level of the waistline at the front of each lapel of the robe.
Step 5: Find where the LEFT lapel is parallel to the waistline. Cut a two-inch slit at the seam of the lapel (where the label meets the rest of the robe-usually a couple inches in from the edge of the lapel). Sew each side of the seam back separately.
Step 6: Find where the RIGHT lapel is parallel to the waistline. Sew a three-inch ribbon along the edge of the lapel, with each side of the ribbon about an inch and a half apart, allowing it to stick out slightly.
To keep the robe closed, pull the LEFT ribbon through the RIGHT slit, then pull the RIGHT belt of the robe through that ribbon.
Next, pull the RIGHT ribbon through the LEFT slit, then pull the LEFT belt of the robe through that ribbon.
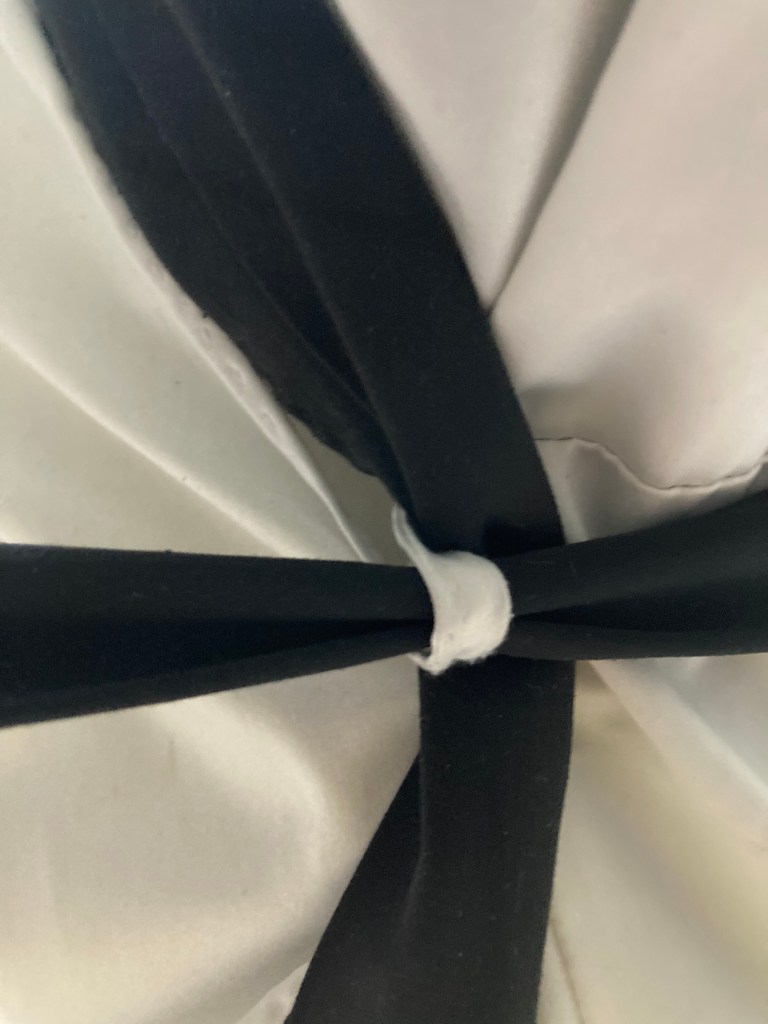
Your robe will now stay closed, even when the belt is not tied in the front.
Dresses into Shirts
Sometimes the bottom of a favorite dress becomes frayed or gets a stain. Or, perhaps, you just reach an age when you feel like you can’t quite pull off such a short hemline anymore 😉
Either way, there is no need to dump your favorite dress because it no longer works as a dress. Simply cut the hem and turn it into your newest favorite top! You can choose a regular length or take advantage of the situation to have an extra-long shirt that works well paired with leggings.

Hoodie Snaps
Hoodies are great for chilly weather, when the hoods actually stay on. But many hoodies are designed for looks rather than function. To make your favorite hoodie functional as well, simply add snaps, starting just under your chin, so that the hood will actually do its job of keeping you warm, rather than blowing off at the slightest breeze.

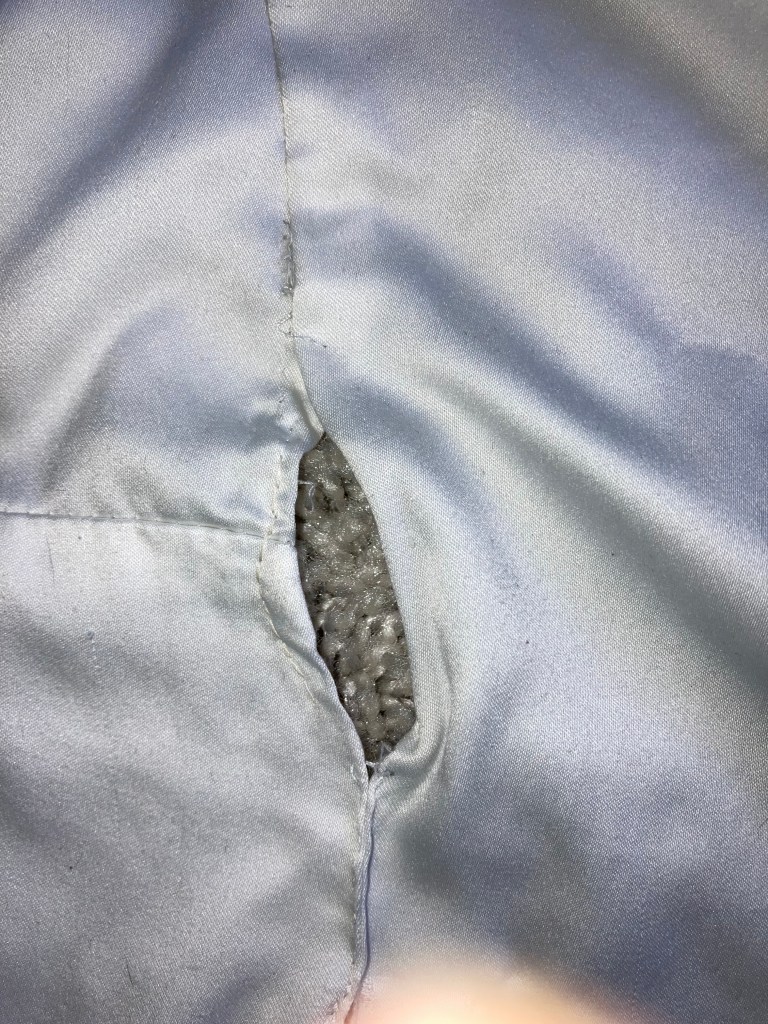
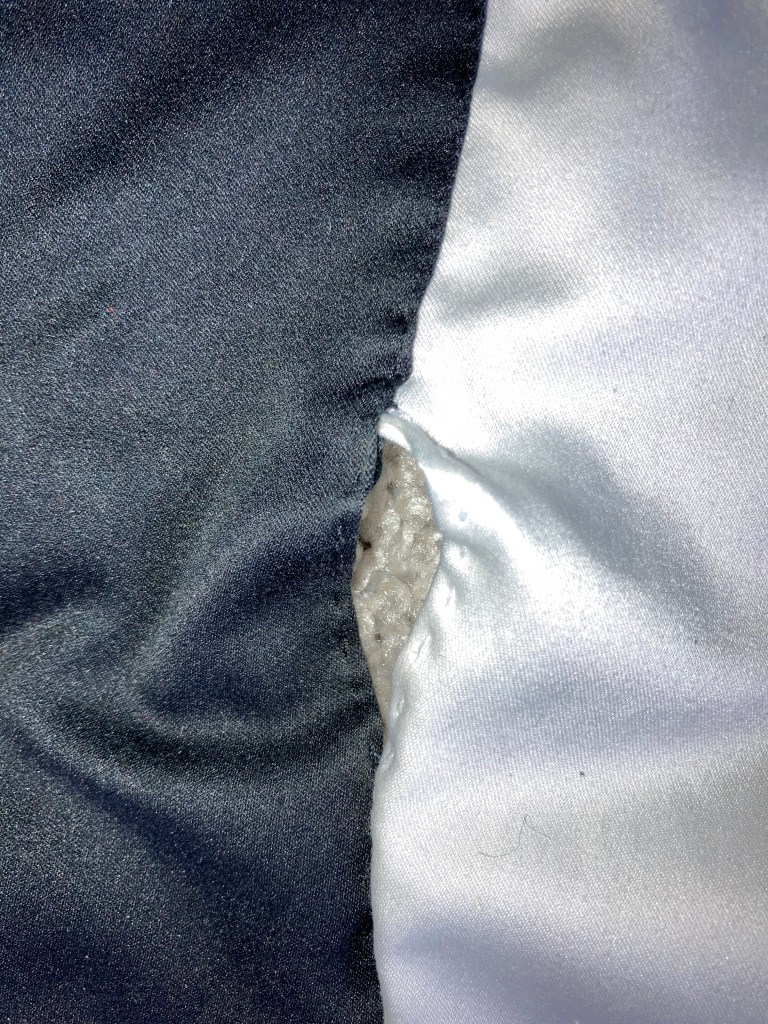
Keep Swimsuit Lining in Place
Many swimsuit tops come with a thin foam layer in between two cloth layers. The problem is this inside layer can get turned around and bent in half when washed. To prevent this, simply sew one or two stitches to the inside layer of cloth. Pinch the outside layer with your non-sewing hand to separate it, then the inside stitch will keep the foam layer in place while remaining invisible. Do one stitch at each of the three corners of the foam layer.

Snaps on Hand Towels
Hand towels can easily slip off of their holders each time they are used. A simple trick to keep them in place is to sew a snap to hold each side together.
Step 1: Fold the towel in half and measure two inches below the middle of the fold, in the center.
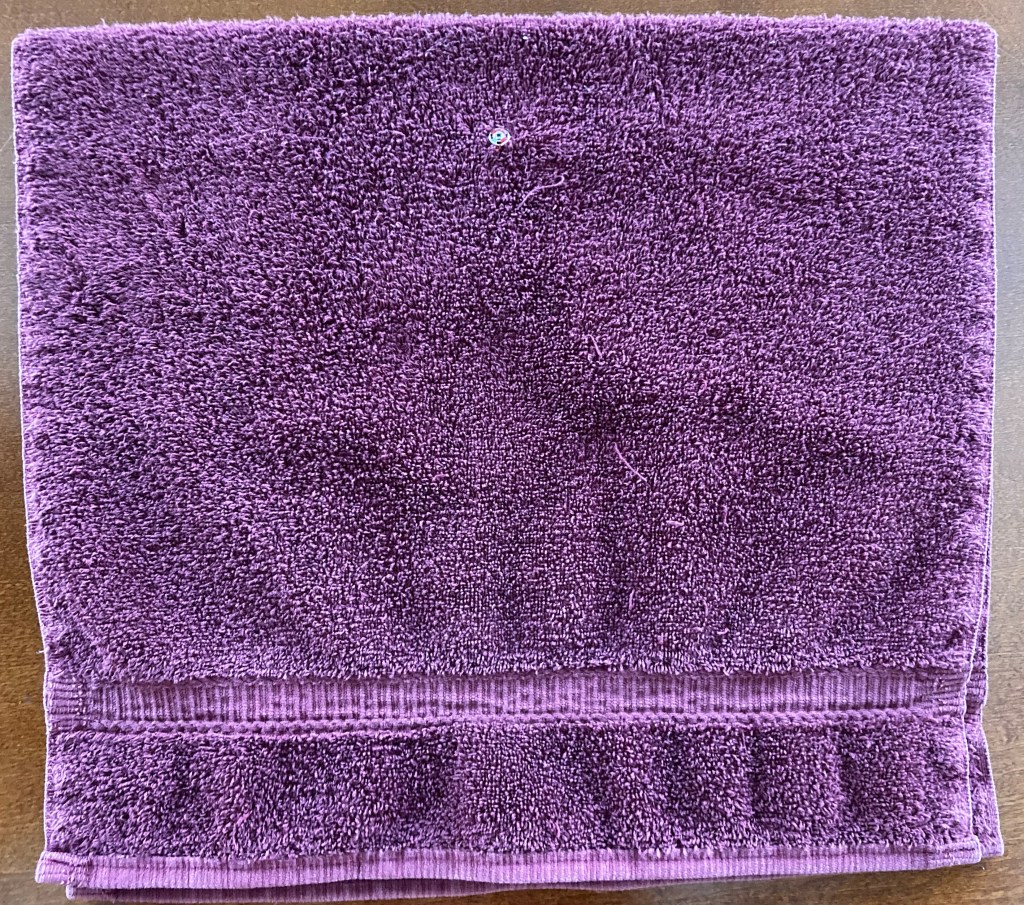
Step 2: Sew each half of the snap at that point.

Step 4: Hang the towel with the snaps facing in, keeping the towel on the hook.

Using a matching thread and only sewing two lines on each snap will make them practically invisible.
Tighten Loose Waists with Elastic
If you have a pair of shorts or pants that sag a bit at the back of the waist, cut a small slit on the inside of the waist at each side of the fly. Measure a piece of thin elastic around your hips or waist, to be the length needed. Fasten the elastic to a safety pin and push it through one of the slits you made. Once it comes out on the other end, sew both slits back closed, with the elastic sewn through the middle. You will now be able to bend over without getting self-conscious each time. Just remember, this trick only works for items that are slightly loose. If you try it with something that is a whole size too big, it will just look like mom jeans 😉
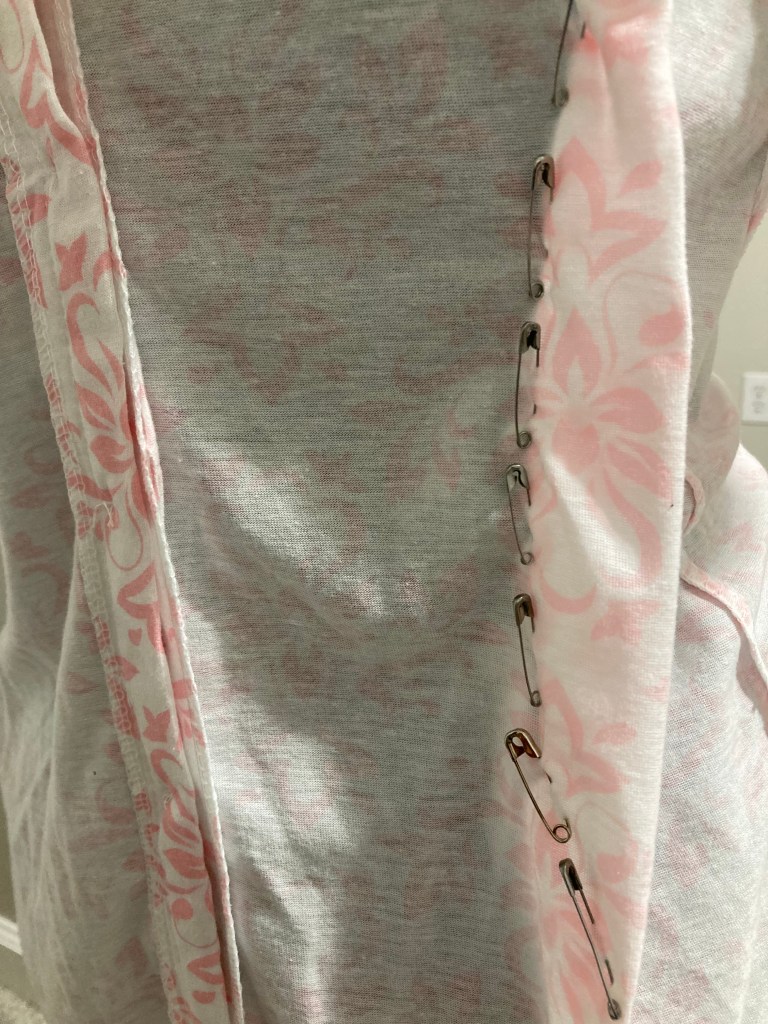
Use Safety Pins to Pin Alterations
When altering clothes that you will have to put back on before sewing to make sure they are pinned correctly, use safety pins instead of regular sewing pins. They pin just as well, won’t fall out of the fabric easily, and most importantly, won’t prick you when you try on the clothing. They are called safety pins for a reason, after all. Just remember, the smaller the pins, the smaller the holes they will make in the fabric.
Hem Shorts at an Angle
It can be hard to find just the right length of shorts, especially if you are conscious about your thighs. Many are either too long in the front, which makes them look frumpy, or too short in the back, which reveals more than you would like. To compensate for this frustrating design flaw, hem your shorts at an angle so they are shortest in front and longest in back. To start, remove all the stitching, wet the shorts thoroughly, and iron out the creases as much as possible. Next, fold the shorts sideways so the seamlines line up. Fold up the back of the shorts as little as possible (about a centimeter for each fold in this photo). Hem the front as much as you would like (just over an inch for each fold in this photo). Fold again, pin and sew. The result is a much more flattering look.

For Kids
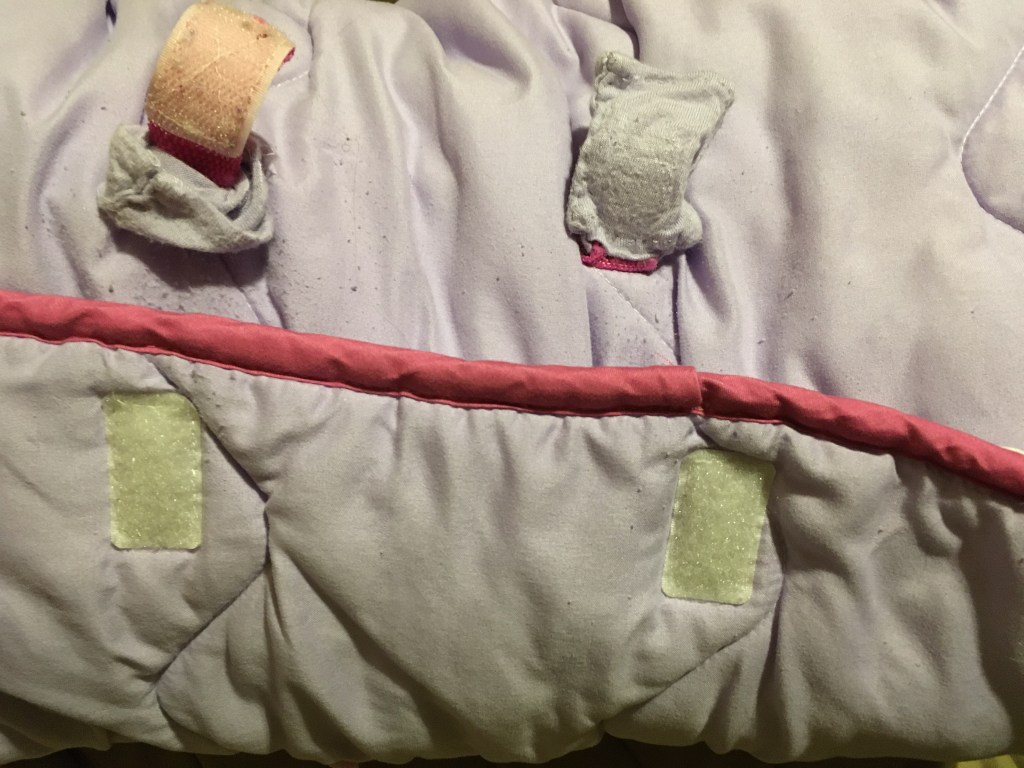
Velcro Covers
This is a great trick for any machine-washable item with Velcro flaps, but the first that comes to my mind are those pesky nap mats. The Velcro flaps destroy anything else in the laundry with it, snagging on the most delicate item of the wash. To fix this, find some spare fabric and cut a piece just double the size of the flap. Create a tube around the flap, sewing it at the bottom and around the side, so that it can be pulled back to let the Velcro attach, then covered when it needs to be washed.
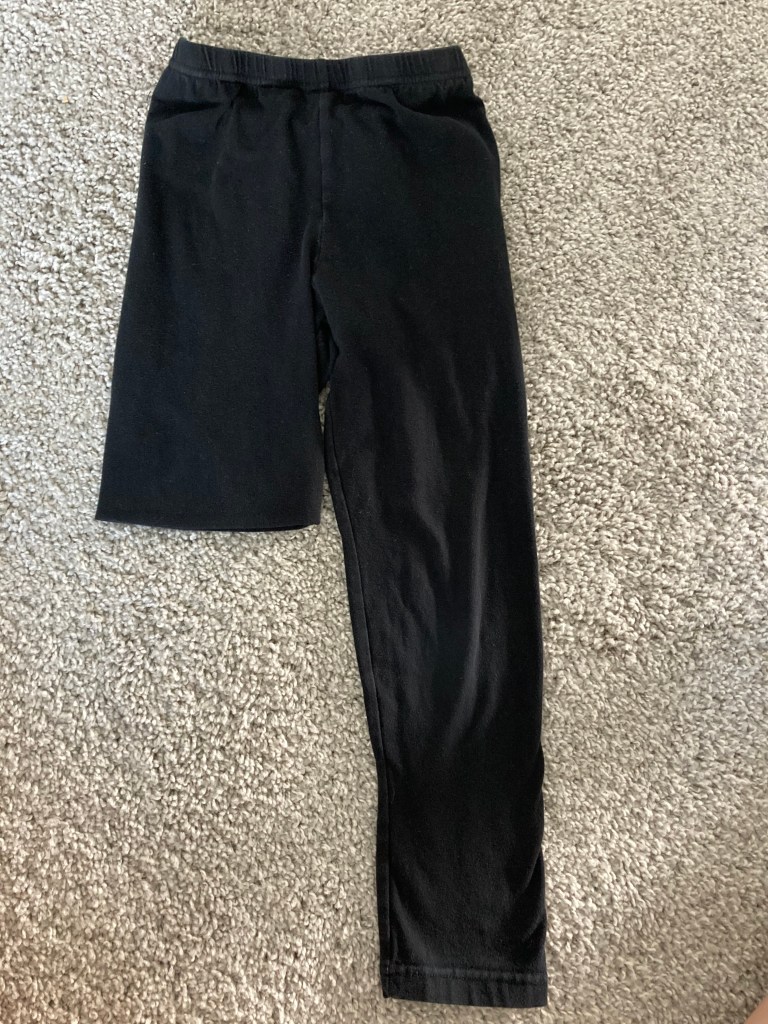
Buy in the Fall, Crop in the Spring
Children grow fast. You may have noticed! Toddlers grow even faster. And while buying new clothes for them every year is an annoying but acceptable part of the package, buying new clothes for them every six months is really pushing it. To keep your adorable sunflower covered in all seasons, make it a habit to buy most new clothes in the fall. Pick out long-sleeved shirts and pants that are as loose as can still fit comfortably. By the time spring comes around, and cuffs are covered in paint stains and knees have holes in them anyway, it is perfect timing to chop the bottoms off and hem them to make short-sleeved shirts and shorts for warmer weather (which are usually designed to fit more tightly, anyway).
Keep Headbands in Place
Use a strip of elastic to prevent those adorable headbands from constantly falling off. Just make sure to measure it while on your child’s head.

And while you’re at it, presents often come with adorable fabric ribbons. Turn them into girls’ headbands by measuring your child’s head, and sewing the ends of the ribbon around a hairband. These make for cherished decorations.

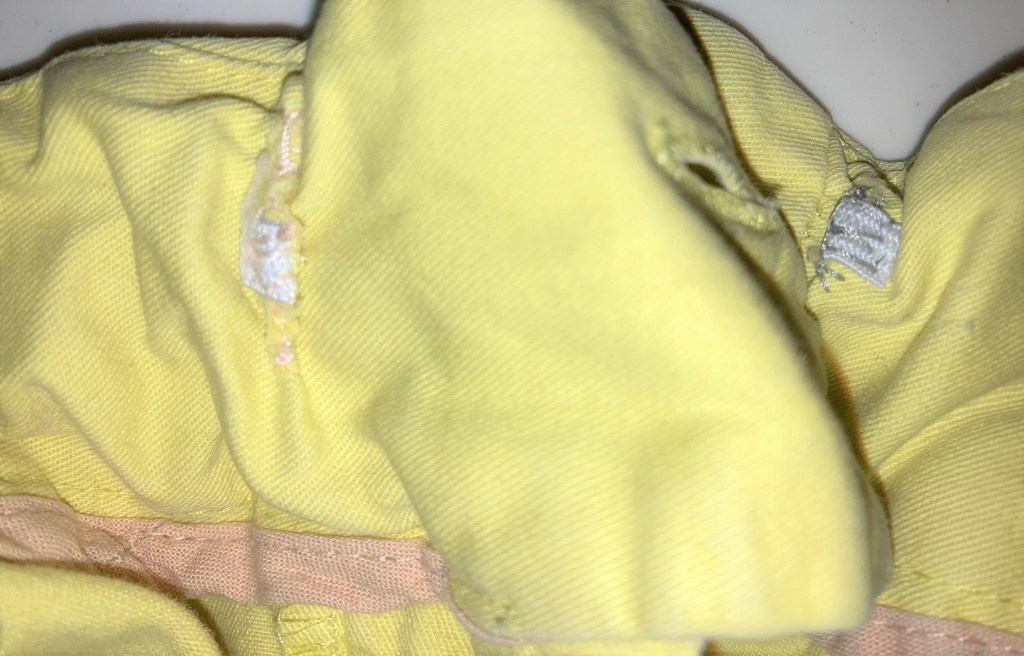
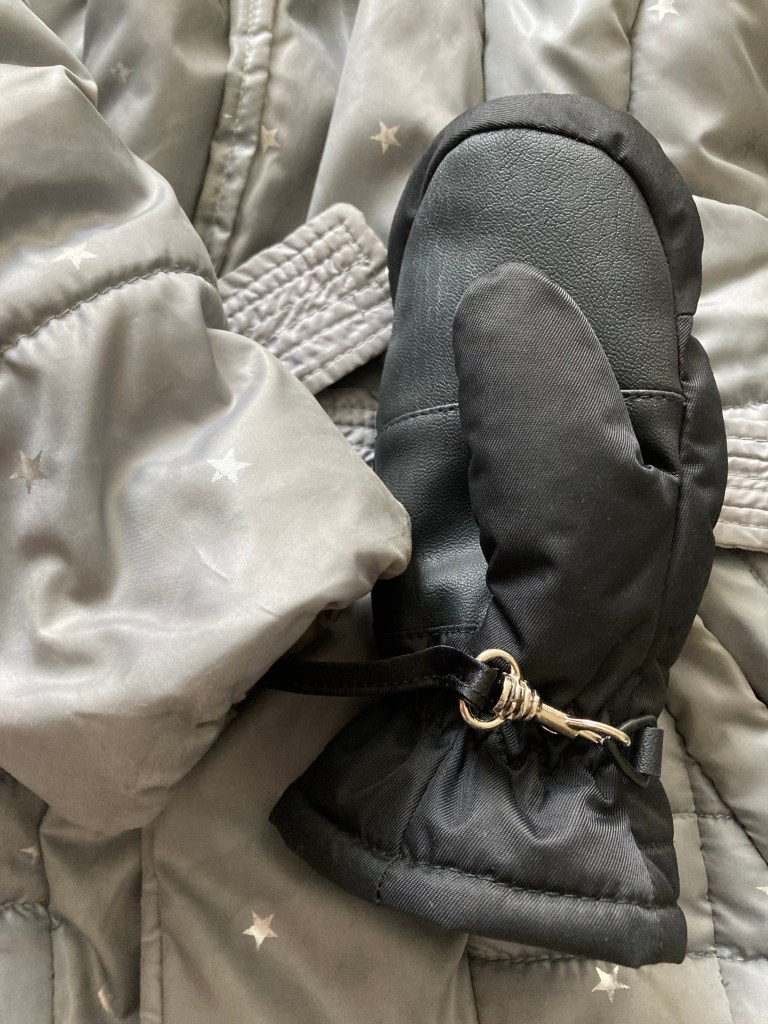
Add Elastic to Coat Sleeves and Mittens
While traditional strings through the sleeves are a cute way to keep mittens from getting lost, they do have the drawback of making sleeves harder to put on and a little less comfortable to wear. Instead, sew three-inch strips of elastic to the ends of sleeves and sew mittens to the other end. These will be much easier to get in and out of, and just as easy to keep mittens from getting lost.
If you don’t want to wash the mittens and jacket together, sew a hook to the end of a strong ribbon and attach it to the sleeves. Sew loops onto the mittens. This way, they can be unhooked for the laundry, but are still strongly attached.
Want to get a monthly digest of all that’s new at Teach Grow Sow?
Click here to sign up for notifications on Facebook, Instagram, Pinterest, and YouTube.
Have questions or feedback? Email:
teachgrowsow@gmail.com
